 Eddy
Eddy
In the Free Trial of FlexWhere you have access to your own environment, a domain will be created specifically for you (or your organization). In the Control Center, you can easily set up all the settings yourself to your liking. Once you have the Control Center set up, you can begin to download the Mobile and Desktop application to start using FlexWhere. A workstation can be reserved through the Mobile, and Desktop application and through the Web browser.
You need to have an account to use FlexWhere. Go to the Free Trial environment to register an email address.
Fill in your name and email address and click the button to confirm your entry. At the email address you entered, you will now receive an email allowing you to confirm the email address and set a password.
Now go through the rest of the registration before proceeding to step 2.
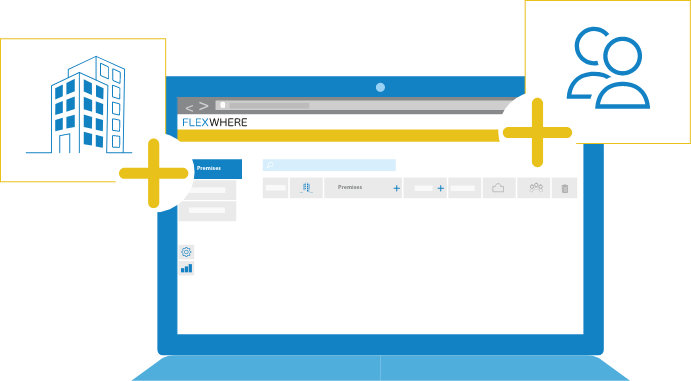
Now that the registration is complete, you can log into the FlexWhere Control Centre. You now need to add a location or building.
Once you have created a location or building, proceed to step 3.
A location or building in your FlexWhere environment has one or more floors. You cannot add a floor plan without one.
Once you have created a floor, proceed to step 4.
In FlexWhere, a floor plan is used to place workspots and meeting rooms.
When you have created a trial environment there will always be a demo floor plan added to the project.
When you are satisfied with the demo floor plan go to step 5. Of course it is also possible to upload your own floor plan, below is a link to the description of how to do that.
You can place workspots and meeting rooms on a floor plan. Workspots and meeting rooms can then be booked and occupied by users within your organisation.
Once you have added one or more workstations, proceed to step 6.
Once your organisation’s workspots and meeting rooms are in the right location, the users can be added. Users can make bookings and occupy workspots and/or rooms.
Once your users have been added, it’s time for step 7.
The last step you can take when you start using FlexWhere is to add devices in the Control Center. For example, a device can be a laptop or desktop.
Using FlexWhere’s Mobile application is also very easy. See the video below on how to download the application:
FlexWhere’s Free Trial is available to your organisation for 14 days. The can transfer the environment you have set up to a paid version. This means that you do not need to set up your environment again.
Click on our website for more information and prices.